Gravity Forms:
WordPress forms are very easy to implement with Gravity Forms, the very most trusted WordPress plugin.
Smartsheet:
Smartsheet is a software as a service application for collaboration and work management that is developed and marketed by Smartsheet Inc.
It is easy to connect Gravity Forms with Smartsheet and it doesn’t need any coding knowledge.
Before getting started, you need the following requirements:
- Installed Gravity Forms plugin in your WordPress.
- Gravity Forms Zapier add-on should be installed in WordPress. It allows form submission to be sent to configured zaps.
- An account in Zapier/.
- An account in Smartsheet/.
Adding a new row in the Smartsheet when a form is submitted in Gravity forms.
Form creation in WordPress Gravity Forms:
The first step in integration with Zapier is creating the form you would prefer to use to integrate with Zapier. It is very easy to integrate with Zapier if you have already existed form. So when you integrate that form with Zapier the list of fields related to that form is up to date when you are configuring your Zapier settings in your Zapier account.
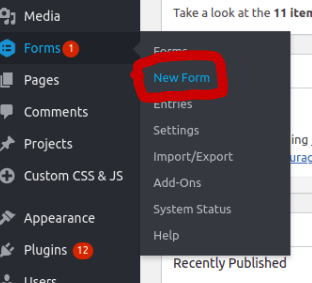
Login to the WordPress admin account, go to the Forms, under Forms click on New Form as shown below.
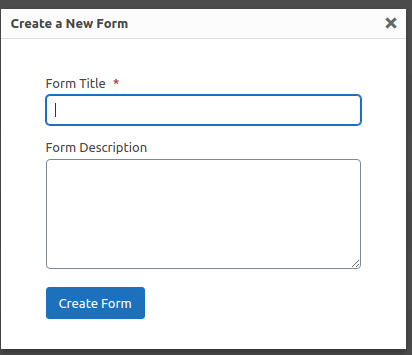
Enter the Form Title and Form Description to create a new form.
Choose fields from the right side and then drag or select fields. Selected fields will appear on the left side of the page. Can change or edit the field properties by clicking on the particular field.
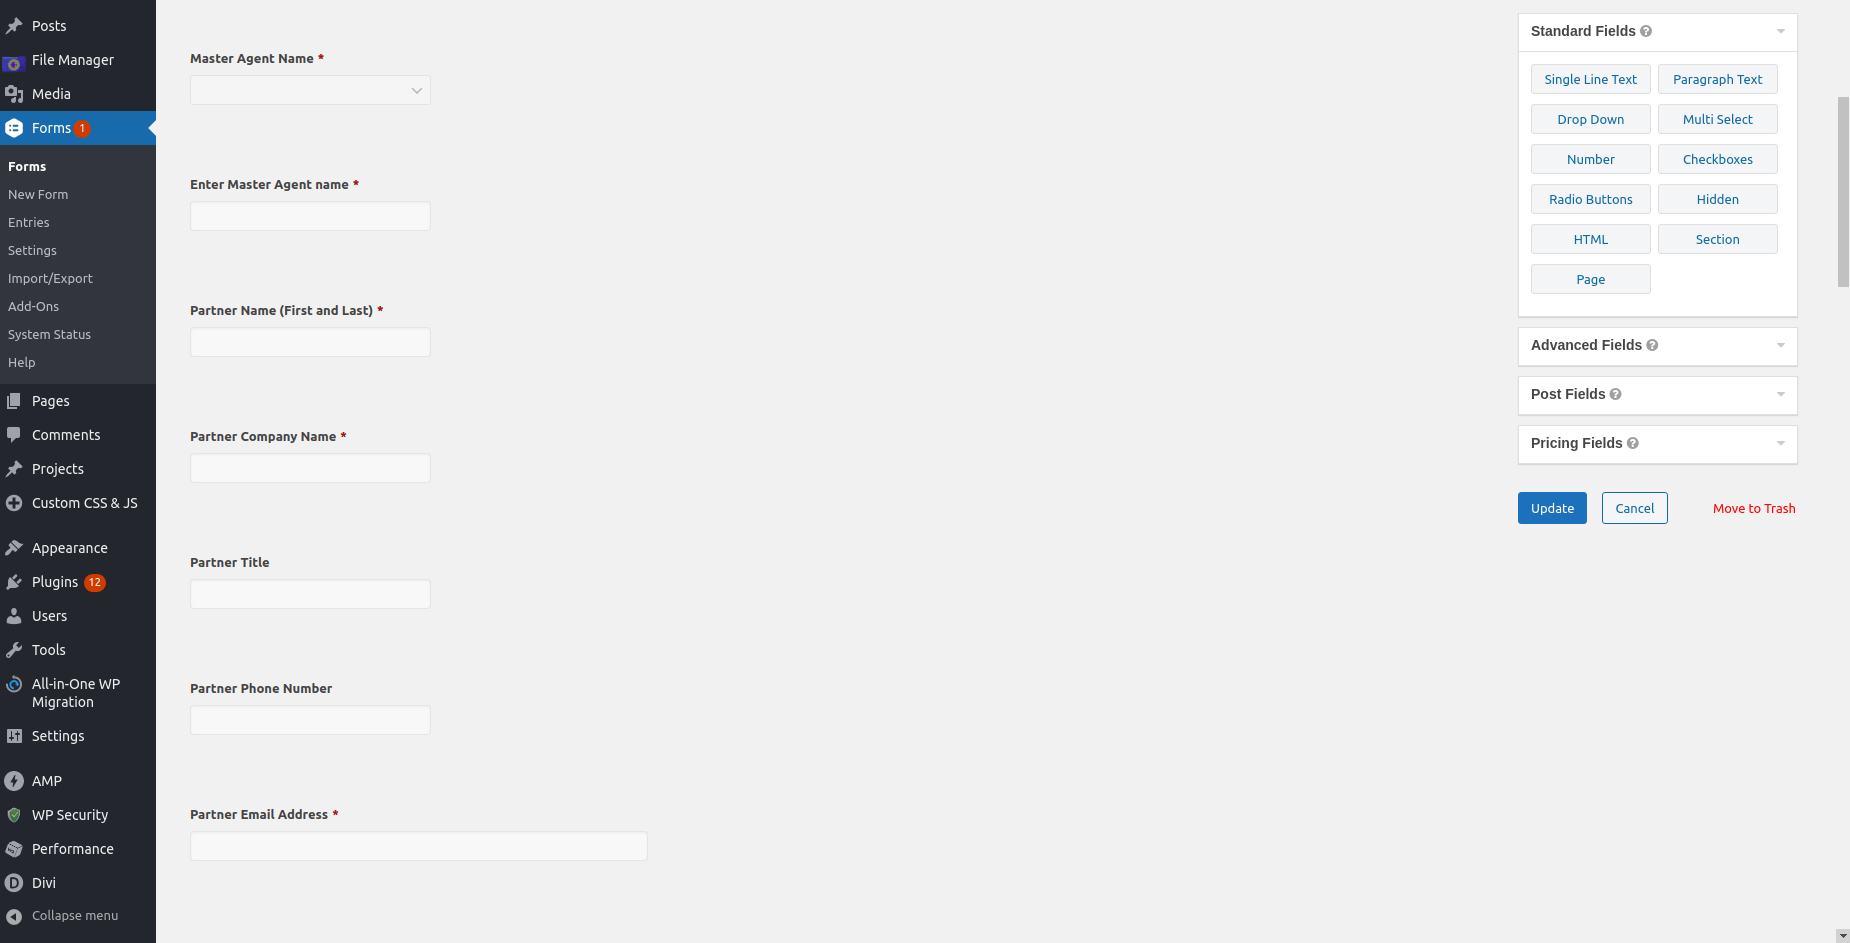
Once done with adding all fields, you can check the form using the preview option.
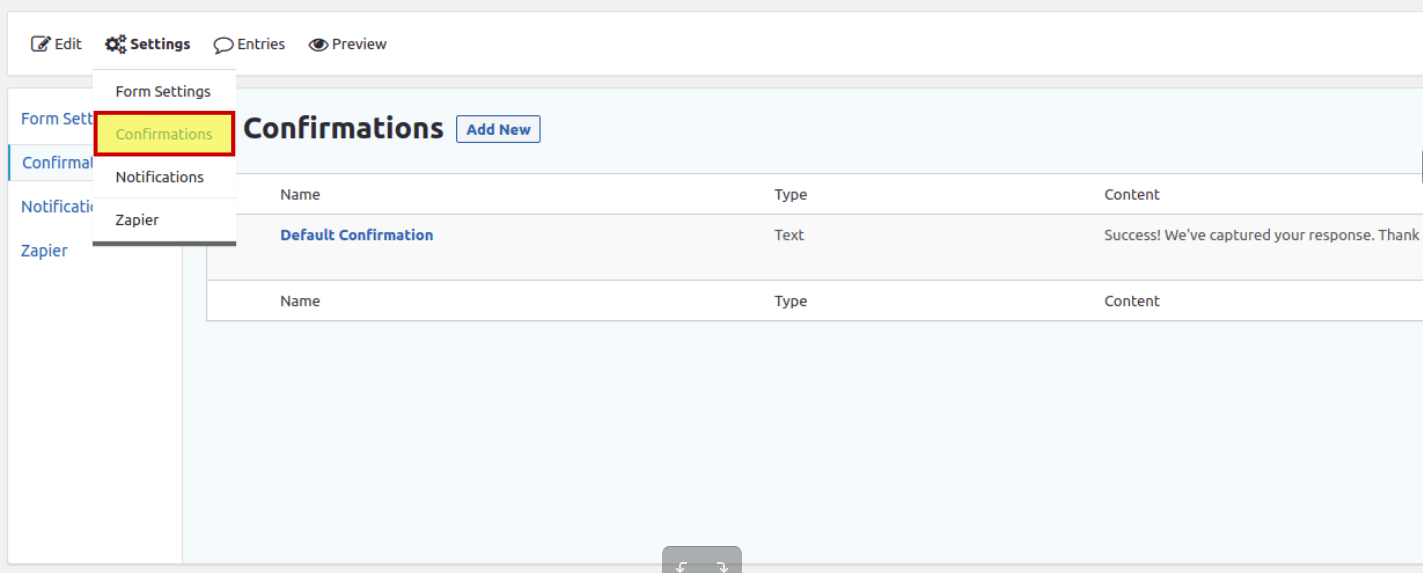
To display the confirmation message when submitting the form, you need to set the Confirmation settings. To edit the confirmation message go to settings and click on confirmations. Edit the text and set the message that you want to display after submitting the form.
Create a New Form in Smartsheet
Open the Smartsheet application and login to your account.
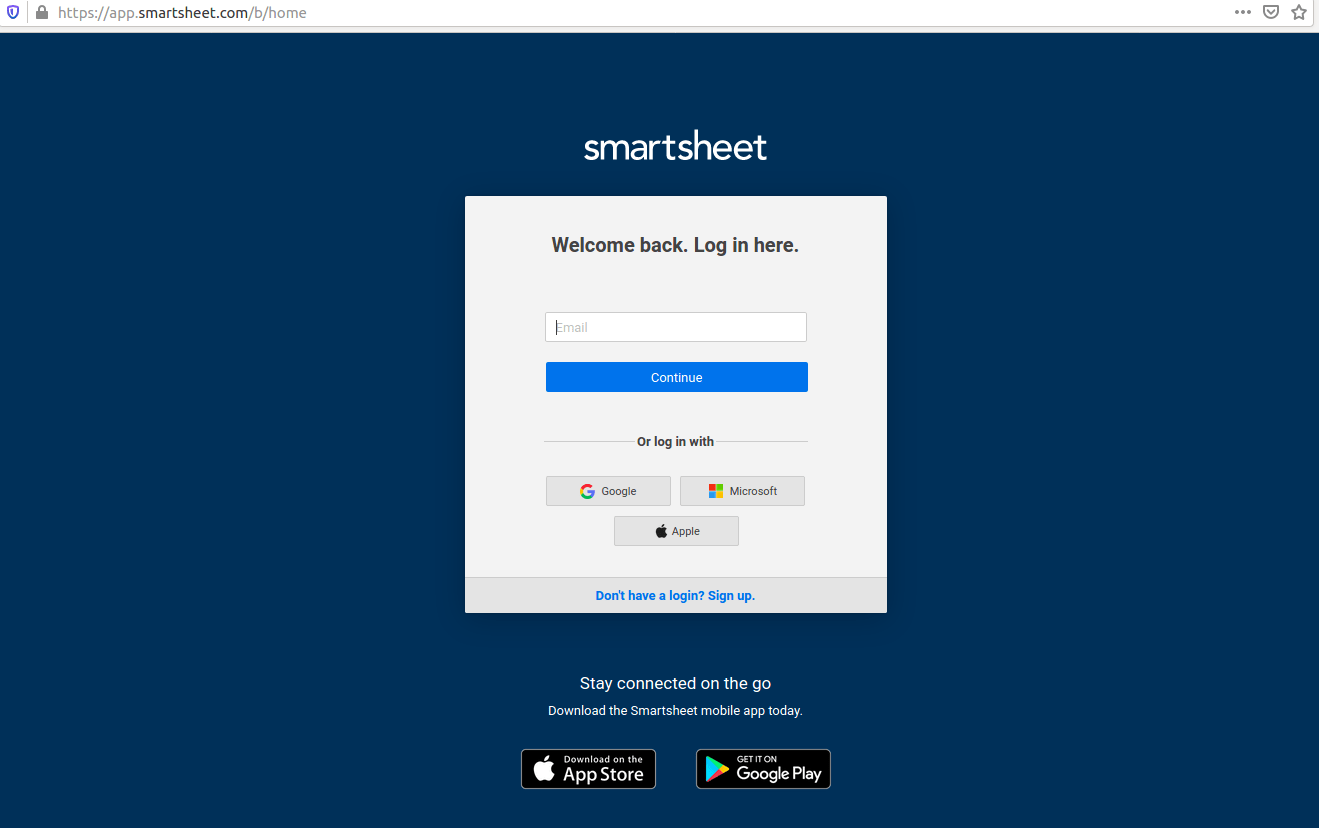
After login into your account, create a new form by clicking the Form as shown below.
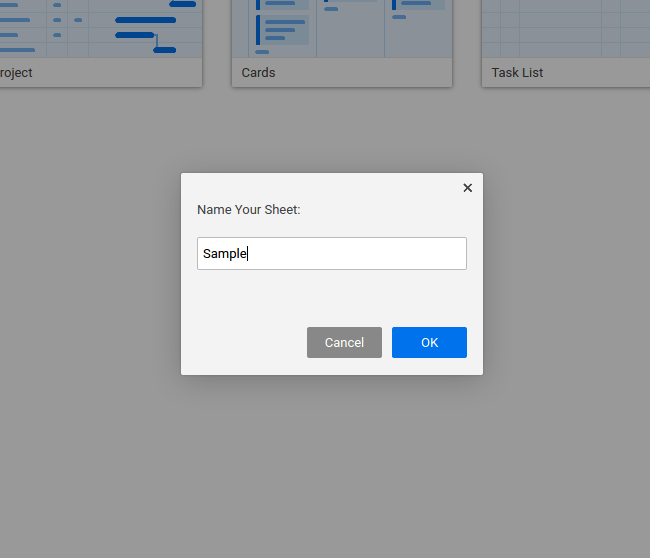
 Enter your form name and click on the OK to continue to create the form.
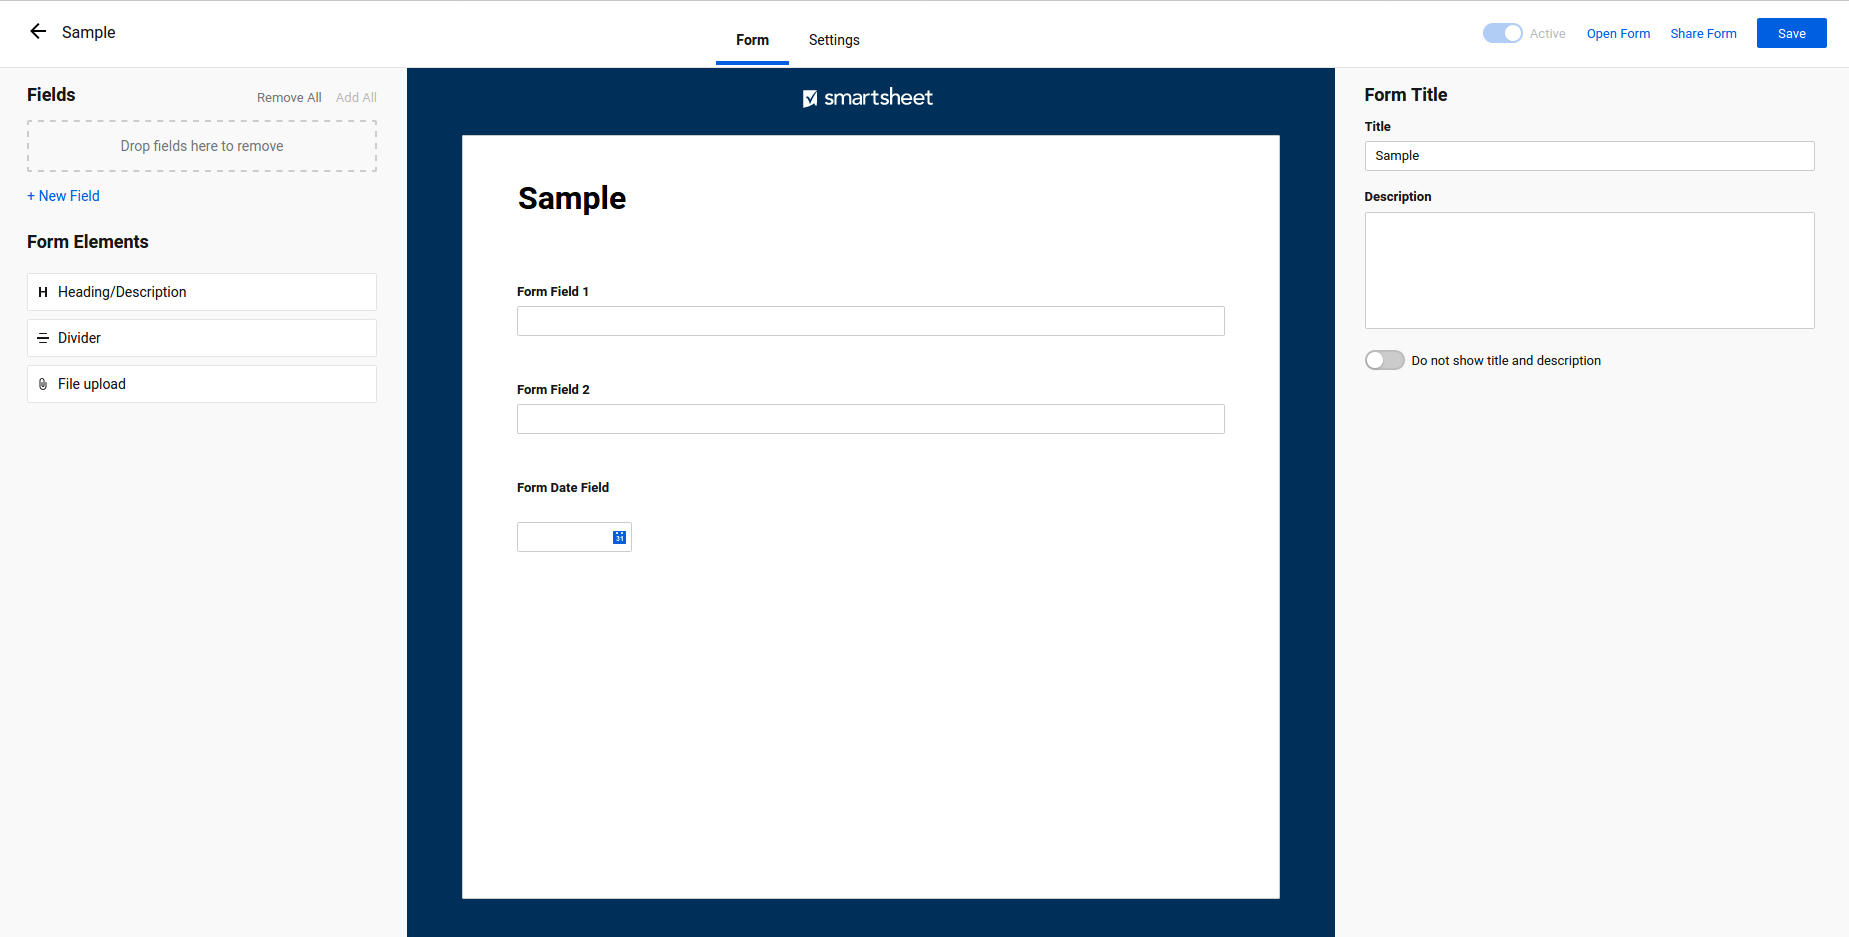
It will display the following form.
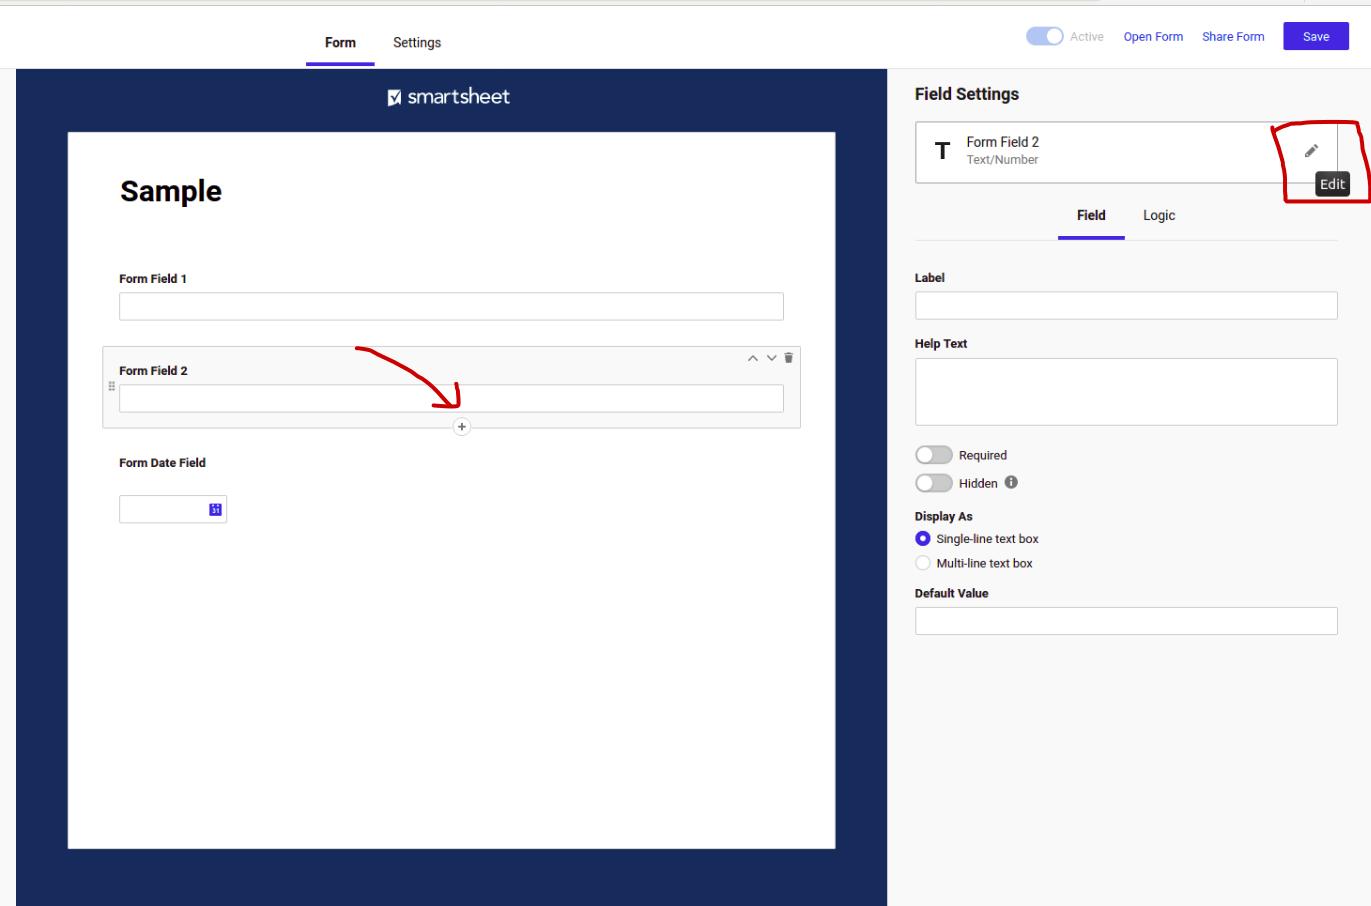
Create new fields by clicking on the + symbol. Edit field names and data types by clicking on the Edit option as shown in the image.
Once done with creating all fields click on the Save button to save the form. Click on the “Open Form” option to view the form as shown below.
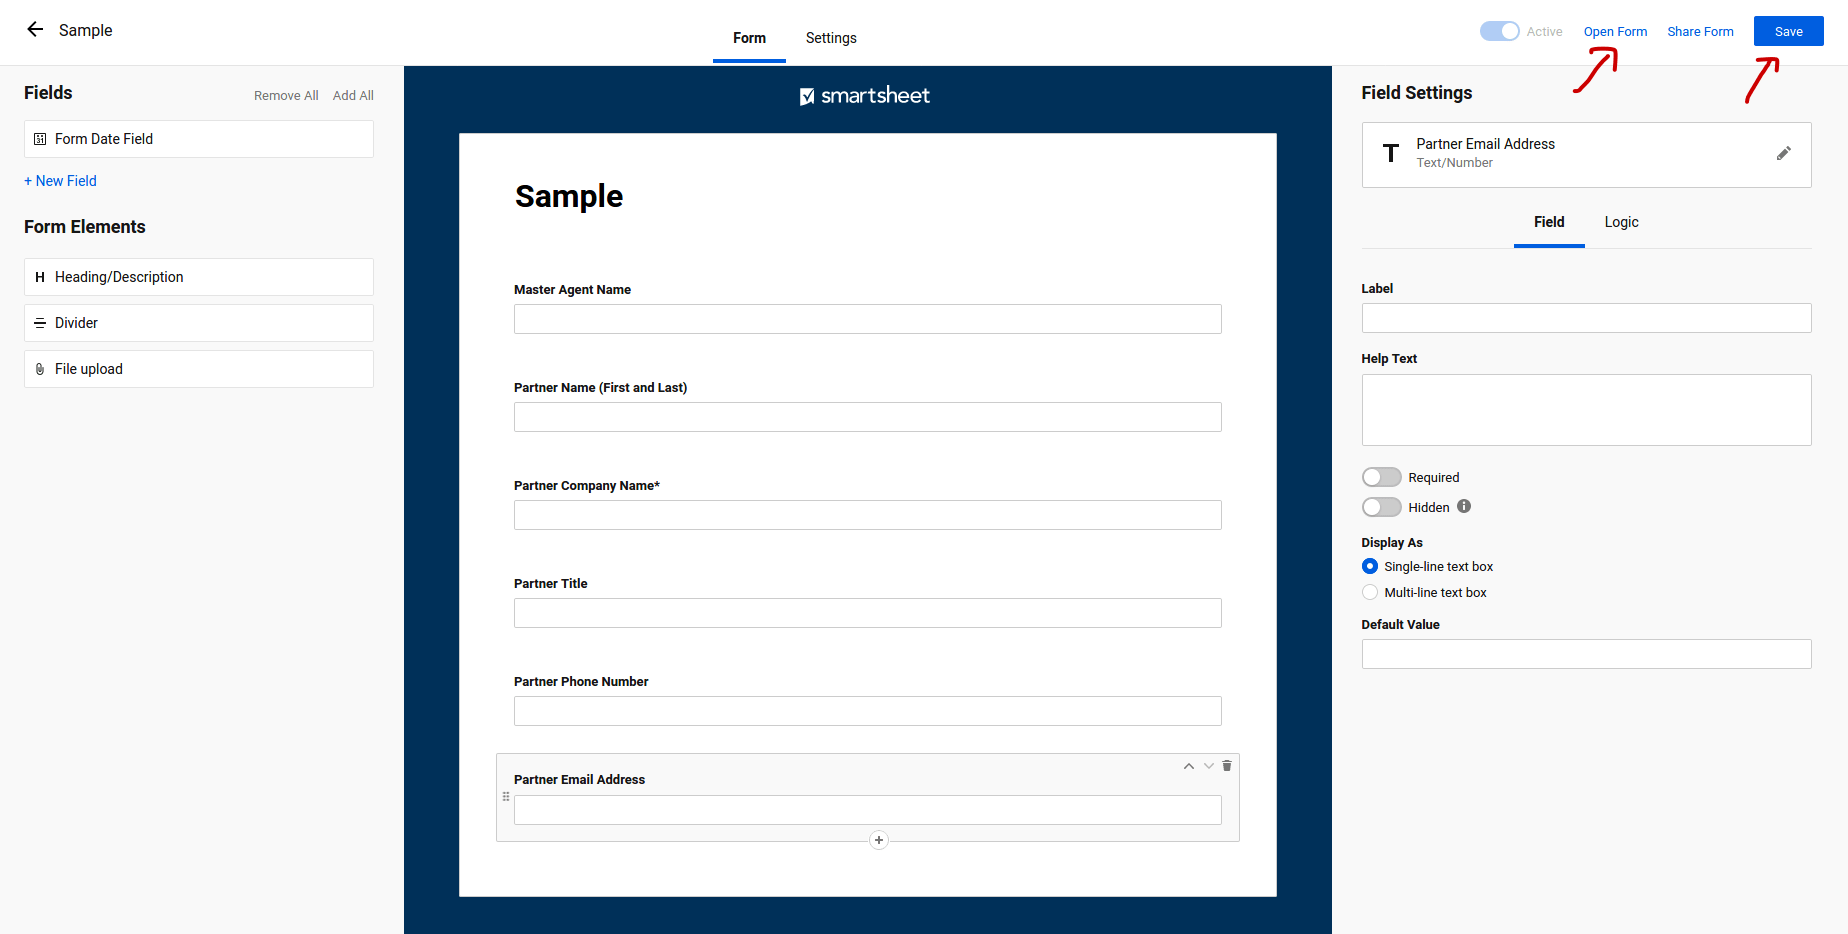
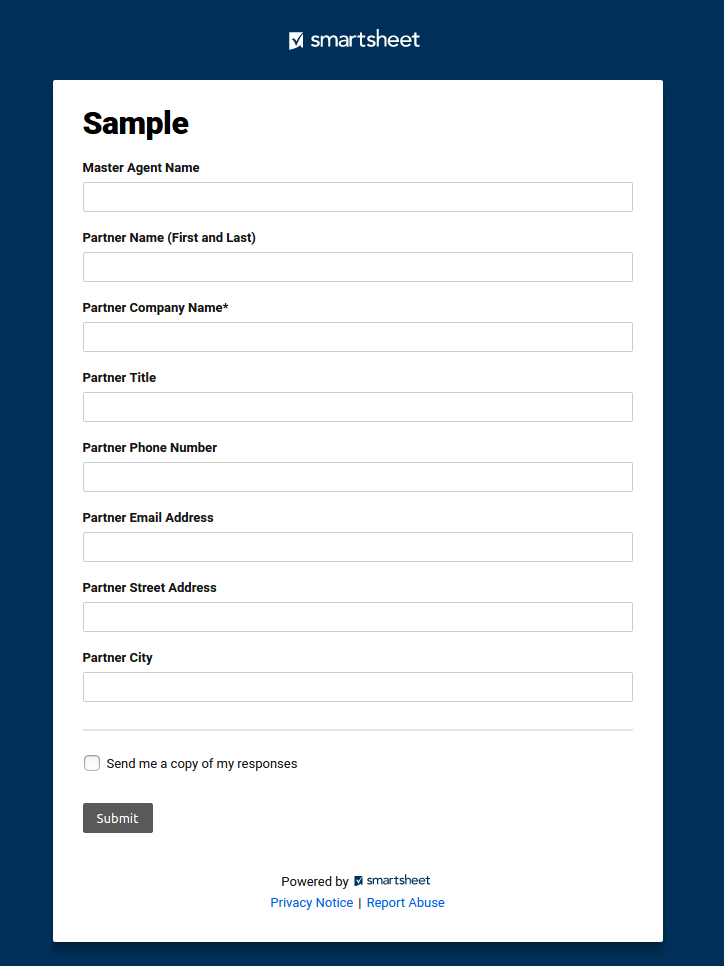
Clicking on Open Form, will display the form.
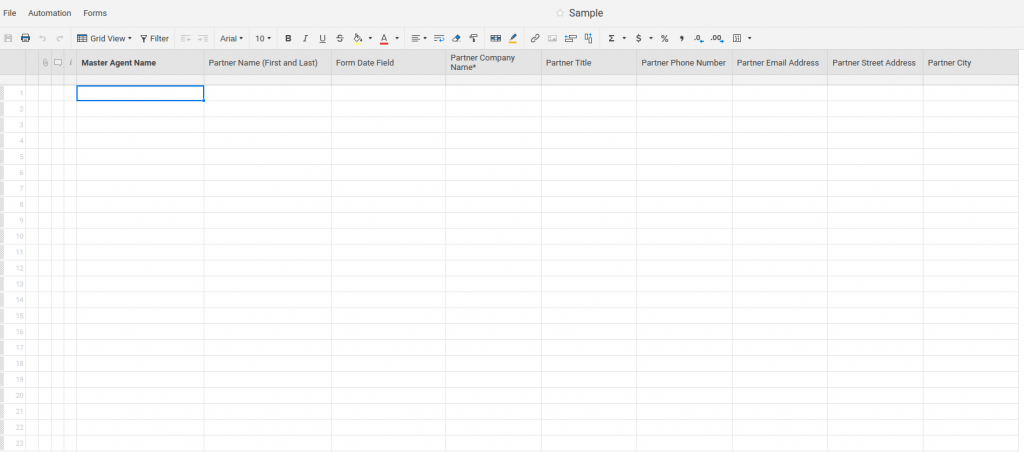
Once you submit the form the details will be stored in the following Smartsheet.
Set up your Zap action:
Once the form is ready, login to the Zapier account with your credentials.
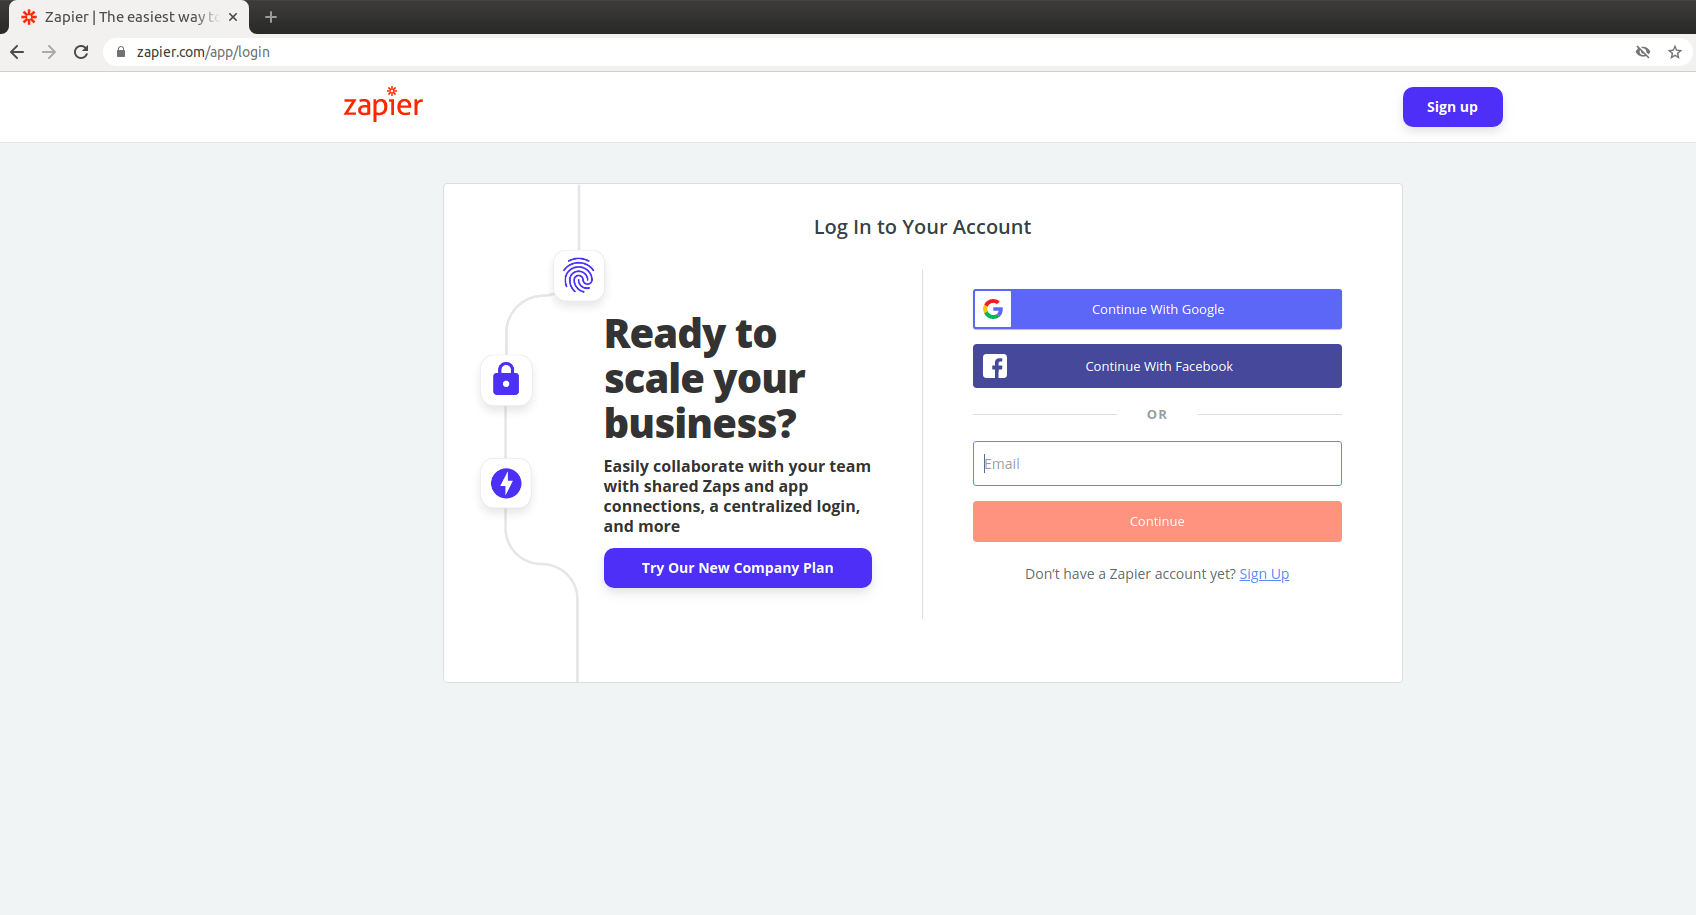
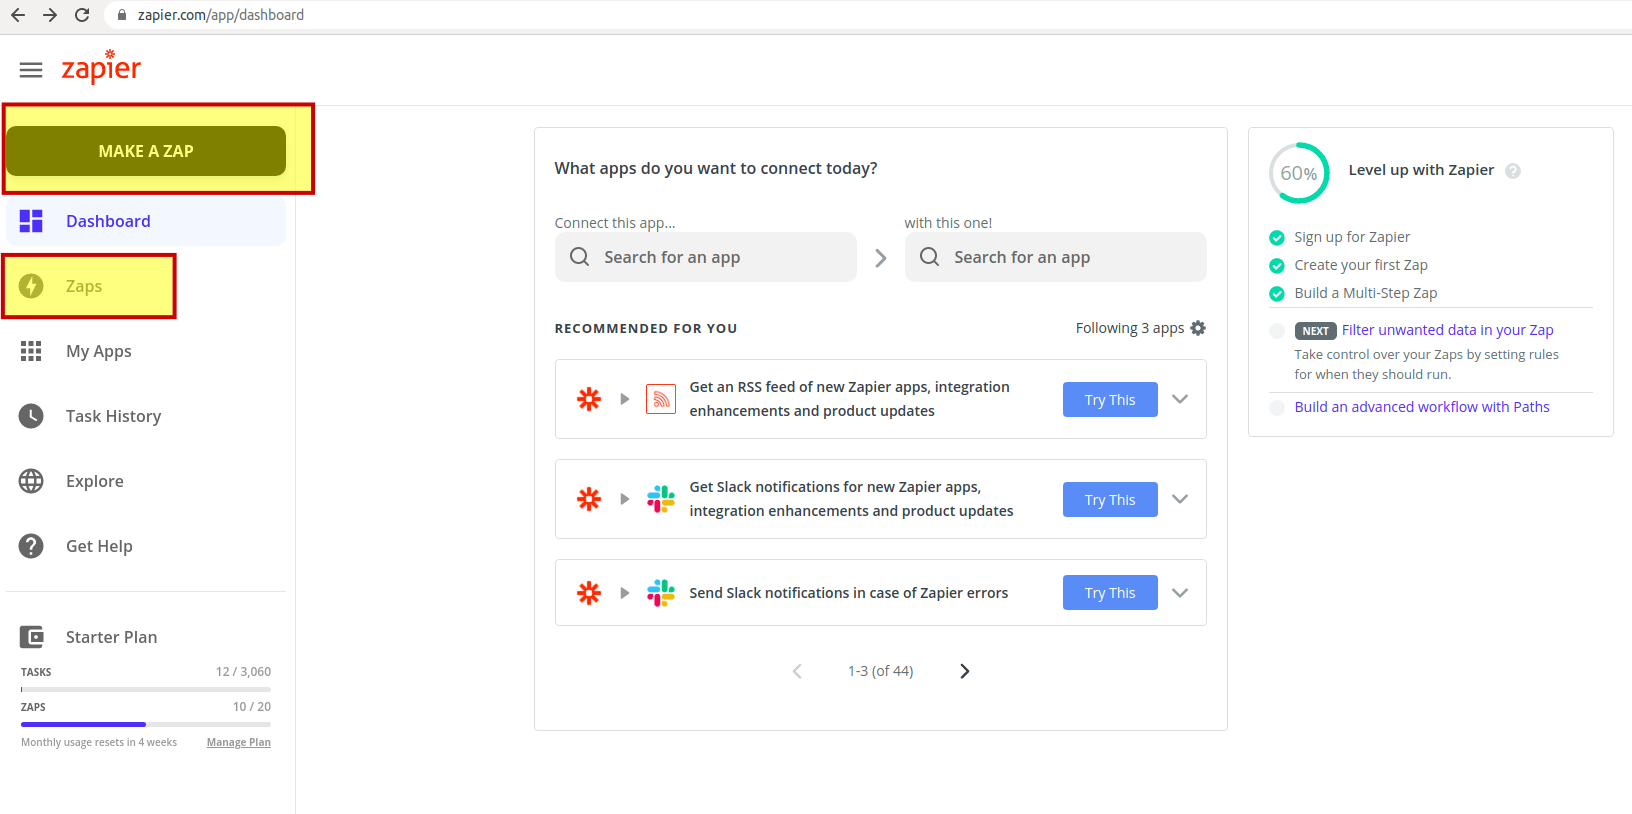
After logging in to your account, you can see the Zapier dashboard page as shown below. Click on the Zaps or click on MAKE A ZAP as shown below to create a new Zap.
Zap: A Zap is an automated workflow that connects your apps and services easily. Every Zap consists of a trigger step that is when this happens… and one or more Do this… action steps.
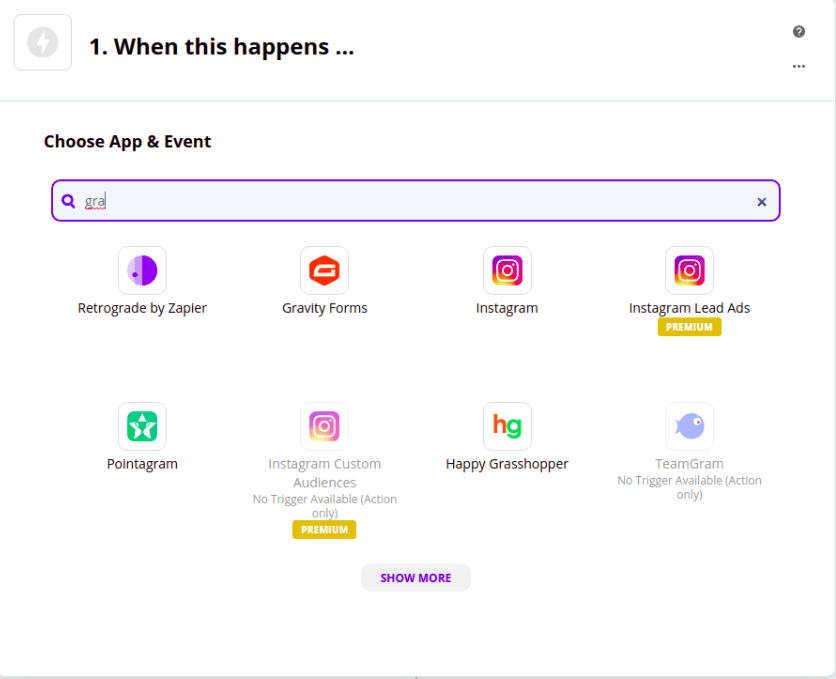
 To select Gravity forms, search for Gravity forms and click on the Gravity Forms icon.
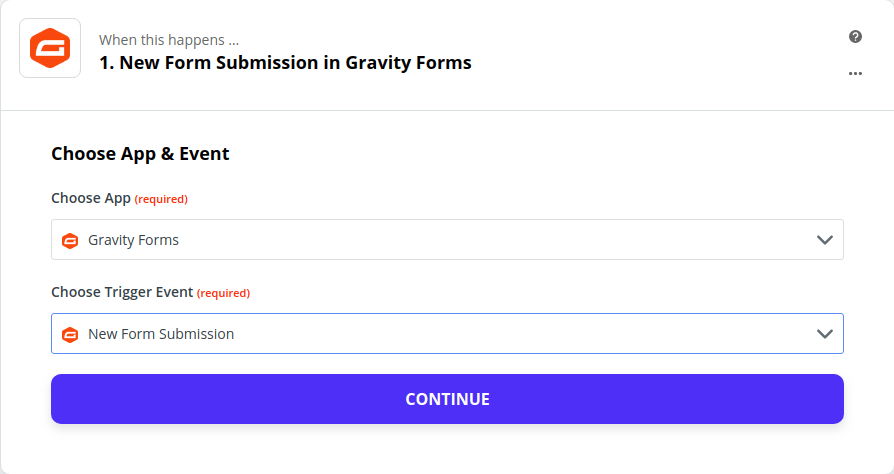
Once we select the Gravity Forms, Trigger Event will automatically select New Form Submission. Click on continue.
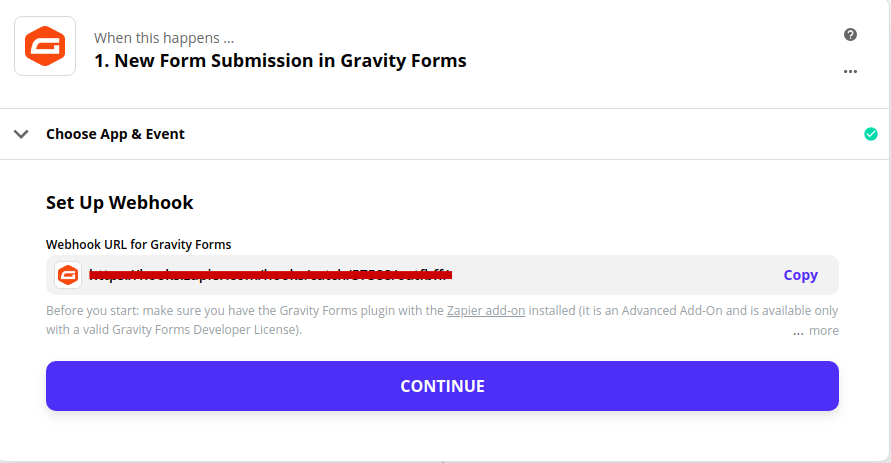
It will display the webhook URL, copy this URL in Gravity Forms.
Login to the WordPress admin account, go to Forms and select the form which form data you are going to copy into the Smartsheet.
Go to the settings, under settings there will be the Zapier option, click on that.
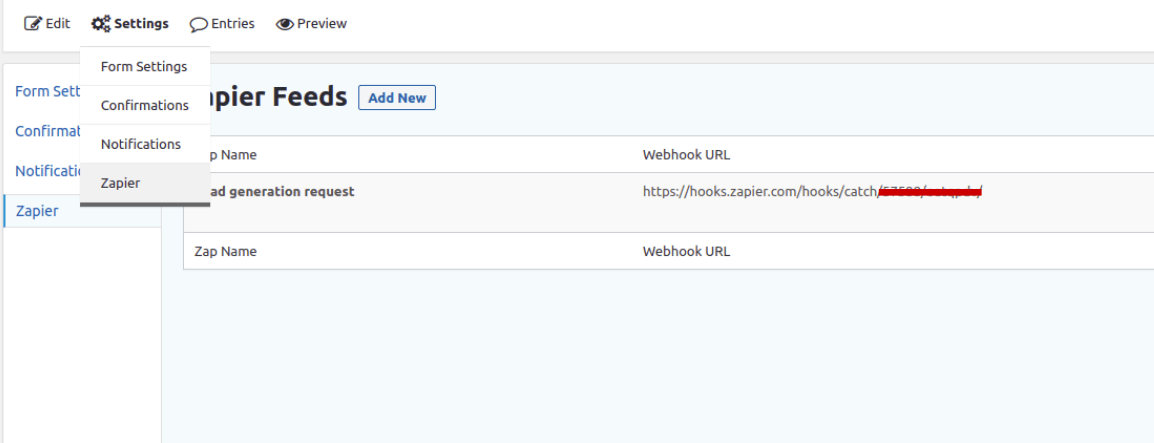
After entering into Zapier, it will display the Zapier setting configurations. Zap name and Webhook URL (get this URL In Zapier) as shown below.
Once all the details have been entered, update the Zapier Feed.
Once done with Updating Zapier Feed, to test your trigger click on Test trigger.
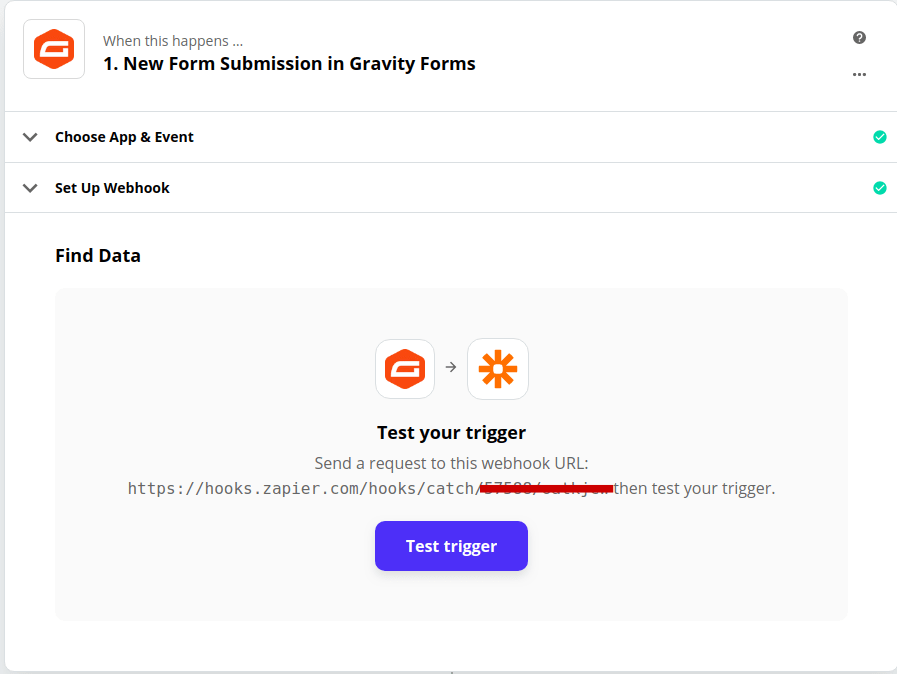
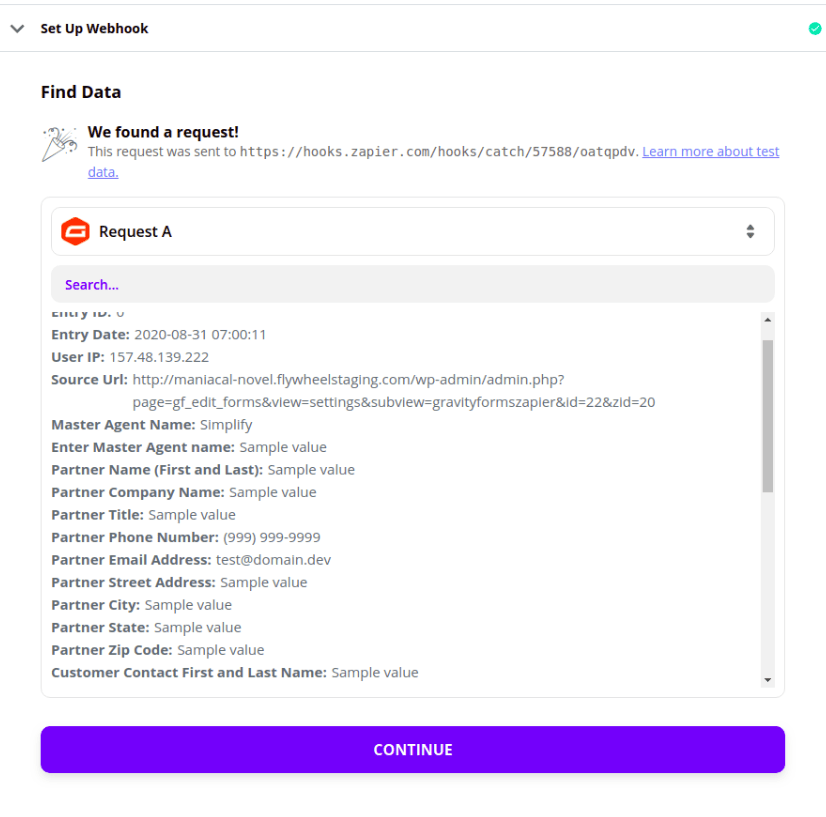
Here is an example request that will test the trigger. If the request is sent successfully, then it will display the message We found a request as shown below.
Setup Action App
Next, set up your action by choosing your action app Smartsheet.
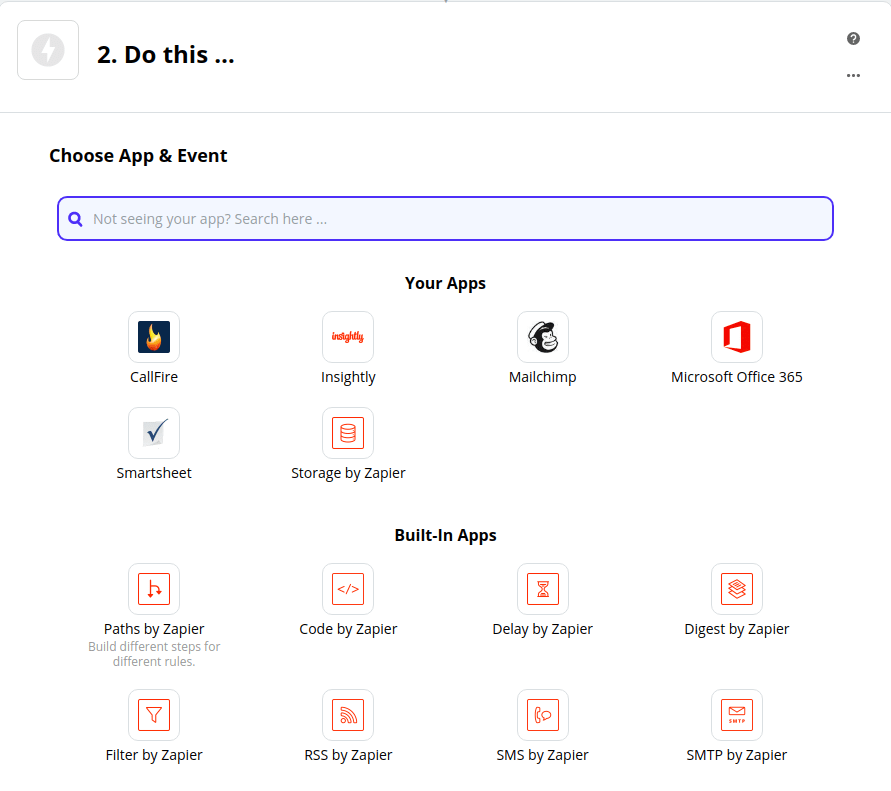
Select or connect the Smartsheet app account to use in the Zap action.
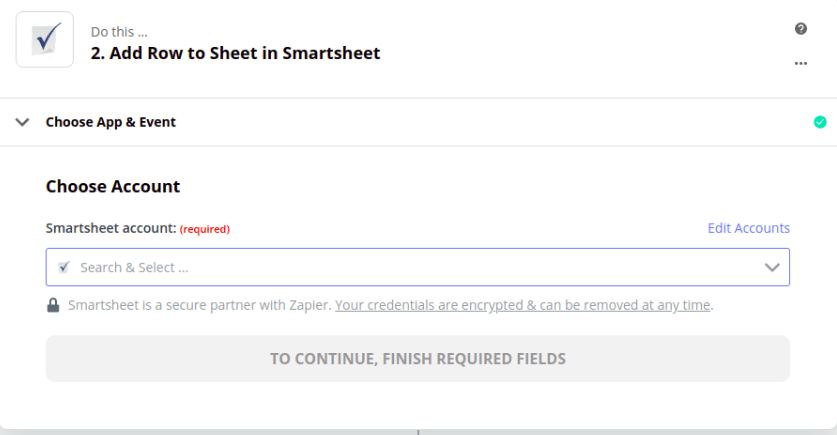
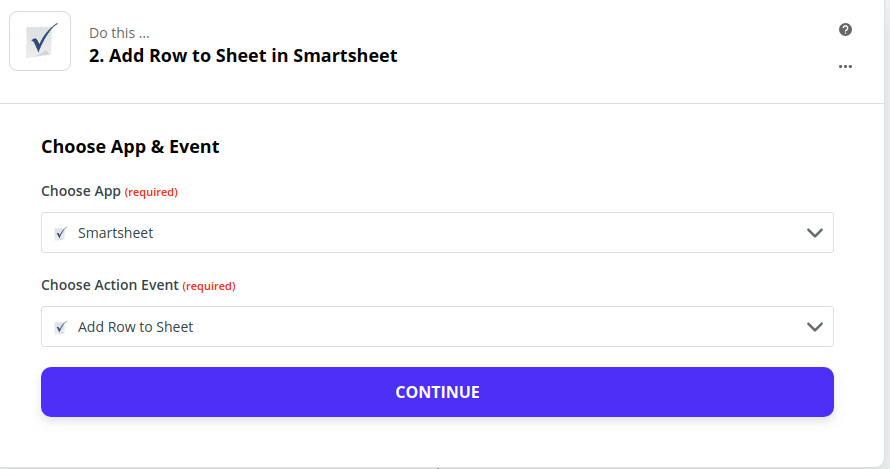
Next, the Choose App field will automatically popup once you select the app and set up an action event Add Row to the Sheet. This will be the event that the Zap performs in the selected Smartsheet application when it is triggered.
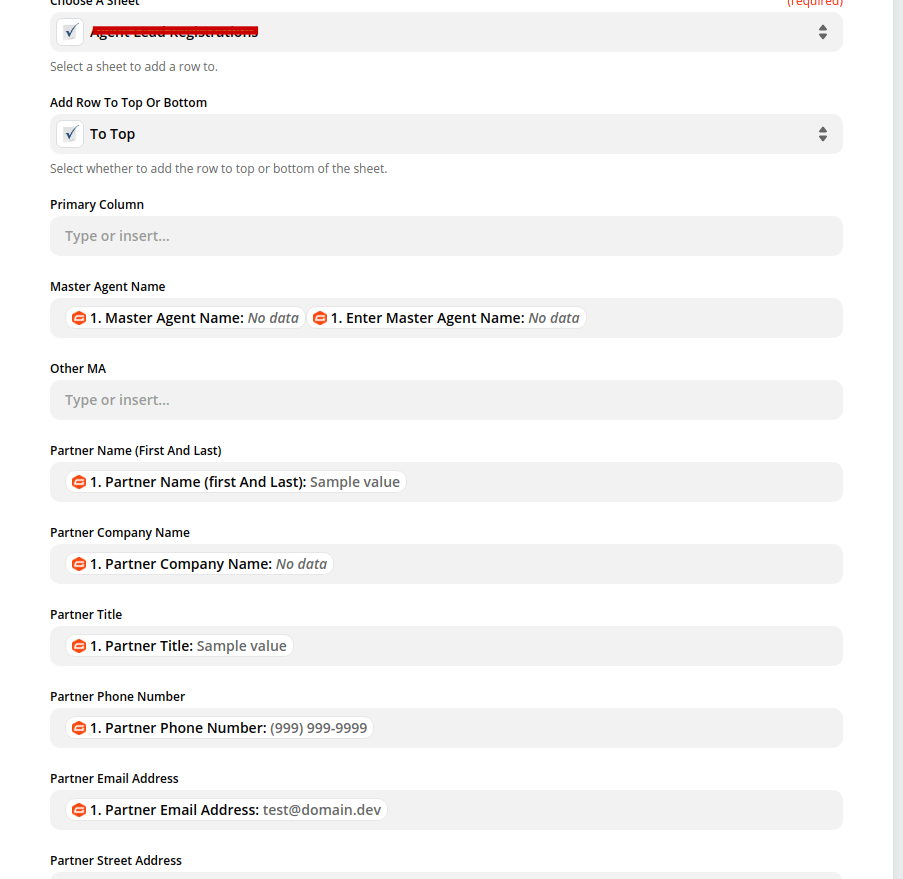
Customize the data that you want to send over to your Smartsheet application.
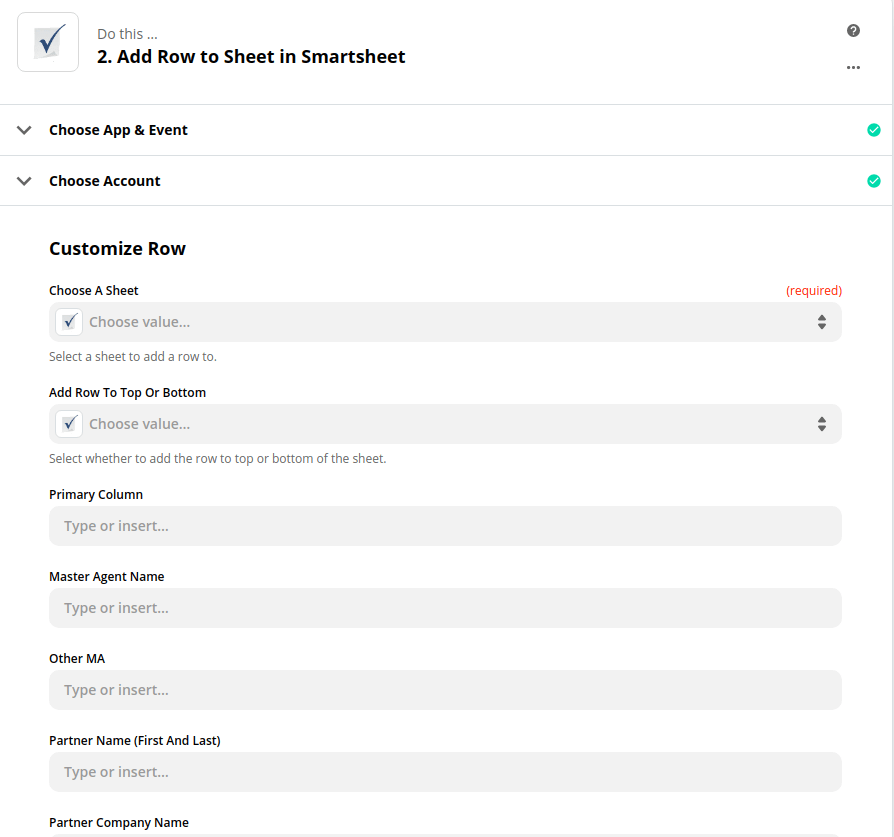
Choose A Sheet field to send the data and add Add Row To Top Or Bottom field value based on your requirement.
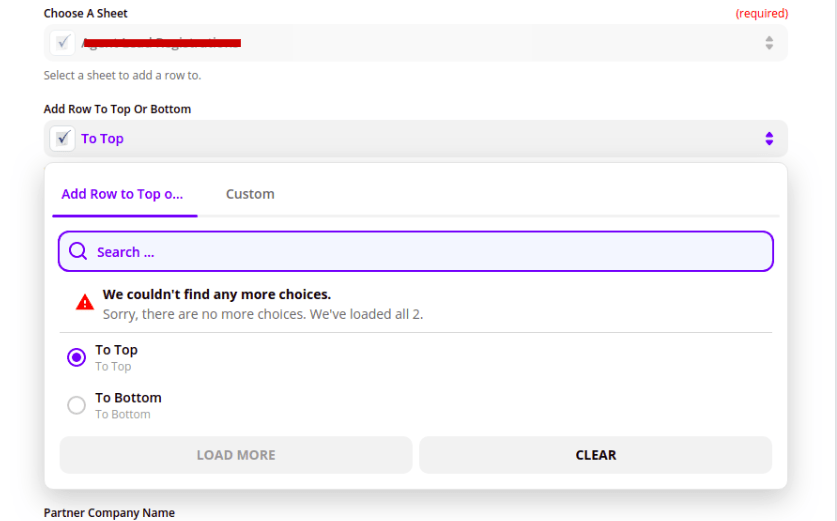
Once done with Select A Sheet, map all Smartsheet fields with Gravity Form fields.
Send Test Data
Once done with all your mapping set up successfully, click on TEST then a text message will appear that is Test was successful at the top of the page as shown below.
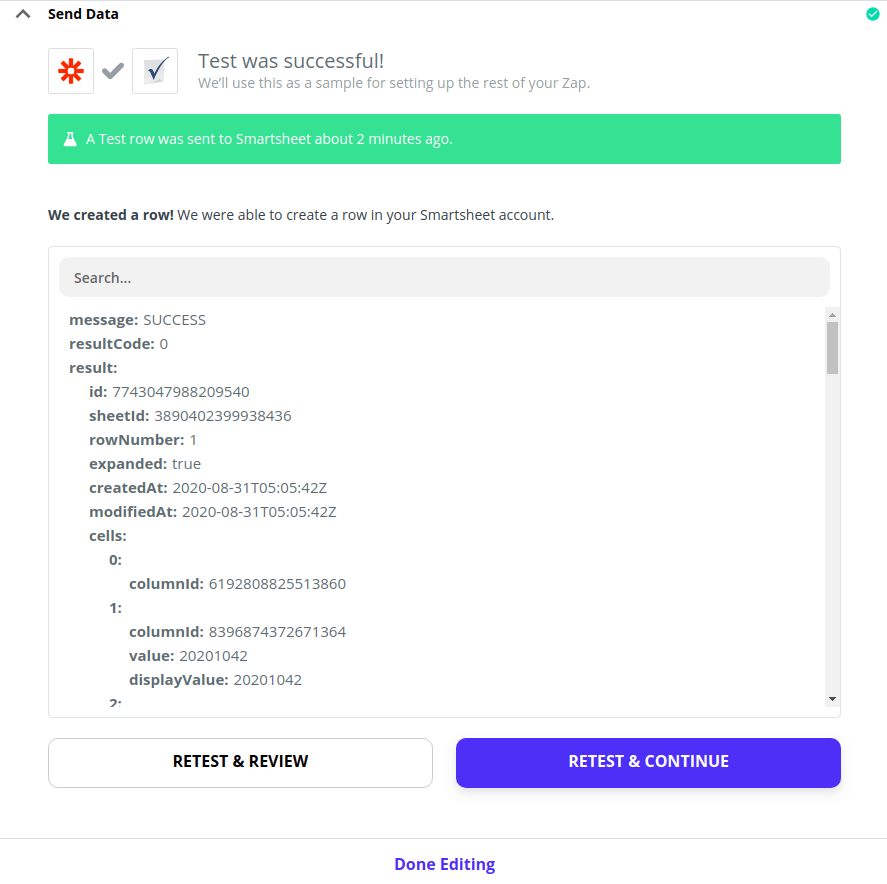
The test data will be sent to your Smartsheet.
Once you are able to send the test data, you’re ready to turn on the Zap. In the upper right, click to the toggle to switch ON the Zap. Once your Zap is turned on, Zapier will run your action steps each time your trigger event occurs. You can view a log of all your Zap activity, including all your Zap steps, in your Task History.

Once done with all setup, go to the WordPress form page and fill in the form.
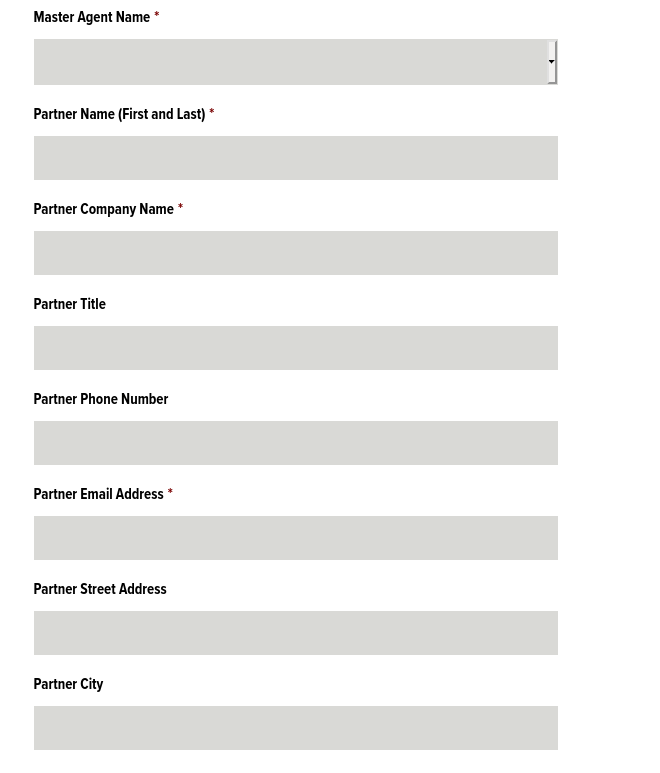
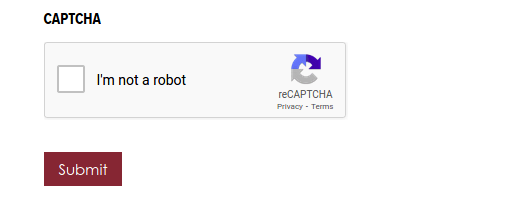
The confirmation message will display once you Submit the form and the data will go to the Smartsheet as shown below.

Also Read: How to Integrate Salesforce with WordPress
Looking for a leading IT outsourcing services? Erudite Works Private Limited offers leading IT outsourcing services, specializing in salesforce consulting, mobile app development, and web application development. We are a renowned technology and engineering consultancy, providing cutting-edge solutions that cater to the needs of businesses. Our innovative technology solutions are used by millions of individuals on a daily basis.


Id wish to thank you for that efforts youve got produced in writing this post. Im hoping the exact same very best get the job done from you in the long term too. Actually your inventive writing skills has inspired me to begin my personal BlogEngine weblog now.
Keep functioning ,impressive job!